Edit Items | Nomad eCommerce Knowledge Base

Product information comes from your ERP, but you can edit some of the information in NOPS.
NOTE: To understand how NOPS integrates with your ERP, contact your support specialist.
It’s important to understand the distinction between a Product and a Product Page. The Product Page is simply a page designed to display Products. The Product is the actual product itself.
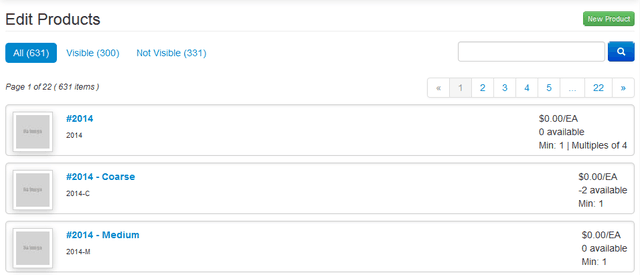
From the main menu, select Content > Products. The Edit Products window appears.
To edit a product, click on the product name (e.g., Sport-100 Helmet).
NOTE: To find a Product, you can type any portion of the name into the search field in the top right. Press Enter after typing.If you want to create a new product, click the
 button in the upper right corner.
 The Edit Product window appears with the Info tab selected.

Make the necessary edits on this tab. Below is a brief description of each field:
Name - You can modify the name of the product that displays on the webpage.
External ID - Do not edit this field. This field connects the product to the product in your ERP.
Part Number - You can edit/add a part number if helpful for product designation.
Alternate Part Number - You can edit/add an alternate part number if helpful for product designation.
Product Code - Do not edit this field.
Parent Page - You can associate a product to a Product Page here, or through the Product Page itself (i.e., to associate the “Water Bottle – 30 oz” product to the “Water Bottle” Product Page, you can type “Water Bottle” into the Parent Page field here, or select the product when editing the “Water Bottle” Product Page.
Option Label - When there is more than one product on a Product Page, the Option Label, if present, will replace this product’s Name on the Product Details page. Its primary function is to prevent repetitive text on a page with many similarly-named products. For example, if two products called “Water Bottle” have different part numbers based on color, you could use an option label to override the name for display purposes (e.g., blue water bottle, green water bottle).
Description - If text appears in this field, an
 icon will display next to the Product on the Product Details page. Resting your mouse on the icon will display the description.
 Minimum Quantity - If there is a minimum quantity required to purchase, enter the amount here.
Maximum Quantity - If there is a maximum quantity required to purchase, enter the amount here.
Sold in multiples of - If the product is sold in multiples, enter the number here (i.e., if sold in multiples of 4, type a 4)
Initial Display - If you want to specify the quantity to be displayed by default, enter it here. (i.e., If the typical purchase of a product is 12, you may want 12 to display as the default quantity. The customer can change the quantity as needed.)
Quantity Available - Do not edit this field.
Retail Price - If you want to show a higher retail or marketing price than the actual price in the ERP, enter the price here. (i.e., if you type $39.99 into the Retail Price field, but the actual price of the product is $34.99, the price will display on the Product Details page similar to this:

If the price in the Retail Price field is the same as the ERP price, or lower, the retail price will not display. You can enter a zero into this field to simply display the ERP price.
Unit of Measure - If you want to display a unit of measure, enter it here. (i.e., If you want the “Water Bottle” Product Details page to display $4.99/Bottle, type “Bottle” into the Unit of Measure field.)
Weight - Do not edit this field.
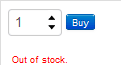
Out of Stock Message - To have a message display if the product is out of stock, enter the message into this field (i.e., if you type “Out of stock” here, it will display similar to this on the Product Details page if the product is out of stock:
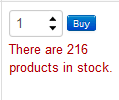
In Stock Message - To have a message display indicating that the product is in stock, enter the message into this field. If you want to indicate the quantity available, type {0} (i.e., if you type “There are {0} products in stock” here, it will display similar to this on the Product Details page:
Allow purchase if stock not available - If you want customers to be able to purchase the product even if out of stock, check this box. With this box unchecked and an out-of-stock product, the customer will not be able to select a quantity.
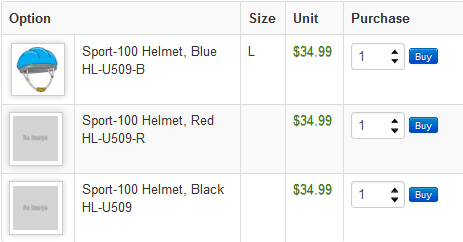
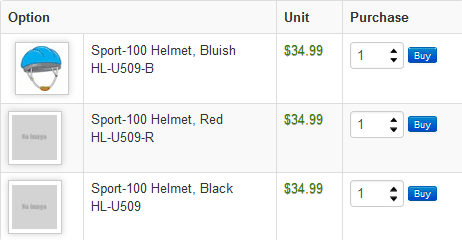
Image - If you want an image to display next to the Product, select the image here. If multiple products display on a Product Page, a column will appear to display the product image, such as the blue helmet shown here:
Click the Prices tab. This window will appear:
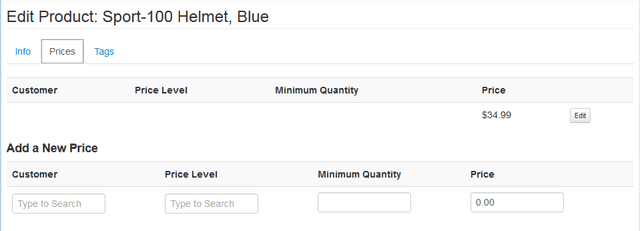
Price information typically comes from your ERP.
Click the Tags tab. This window will appear:
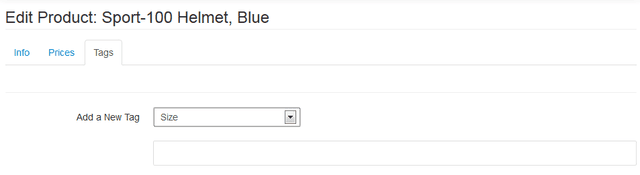
A Tag allows you to add plain text product details (e.g., size, dimensions, color). Tags are not associated with the ERP. Select a Tag from the drop-down menu and then type the text to display.
For example, in the above screenshot, select the “Size” tag. Then type “L” into the blank field. Click Save. The tag will be added to the Product Details page similar to this: cloning